
If you’ve spent time developing apps with SwiftUI, one of the first things you’ll notice when moving to React Native is that many of the concepts are surprisingly familiar.
Both frameworks use a declarative approach to building user interfaces. You describe what the UI should look like based on the current data, and the framework takes care of updating the screen when that data changes.
One of the most important concepts behind this approach is State.
SwiftUI uses property wrappers such as @State, while React uses a hook called useState. They serve a very similar purpose, but there are some interesting differences in how they work.
Let’s look at a simple example.
What is State?
State is data that can change over time and influences what is displayed on screen.
For example, imagine a simple counter app. It displays a number and has a button that increments that number each time it is pressed.
The number is our state.
When the number changes, the UI needs to reflect that change. Both SwiftUI and React Native handle this automatically.
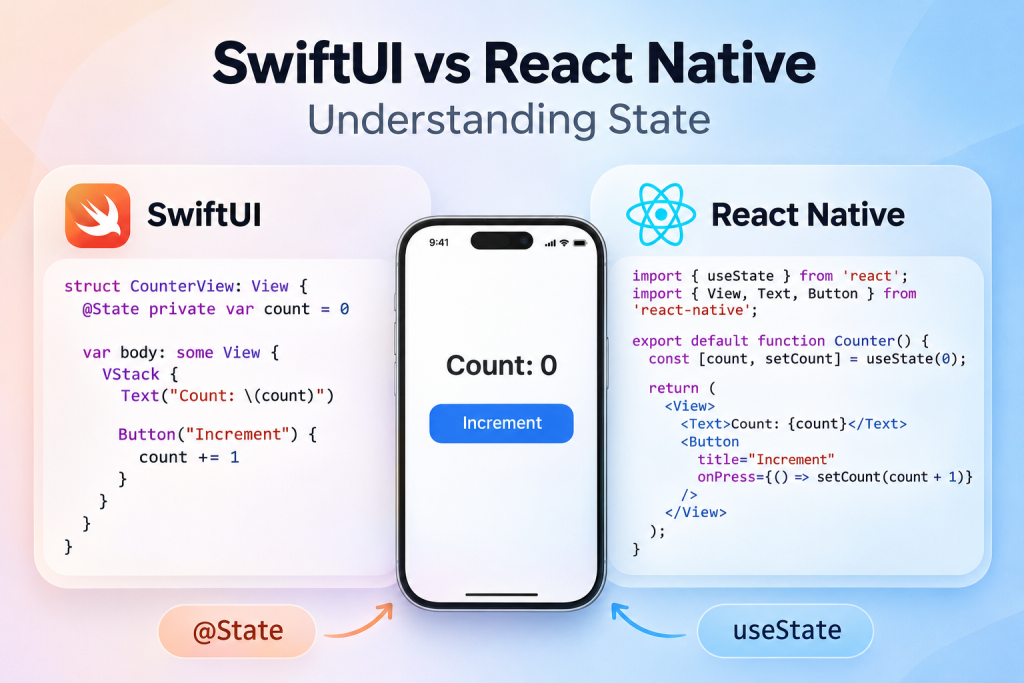
1. State in SwiftUI
In SwiftUI, we use the @State property wrapper to declare a property that the view owns and manages.
Here’s our counter:
struct CounterView: View {
    @State private var count = 0

    var body: some View {
        VStack {
            Text("Count: \(count)")

            Button("Increment") {
                count += 1
            }
        }
    }
}
There are a few things worth noting:
@Statetells SwiftUI that this property represents state managed by the view.- We initialise
countto zero. - When the button is pressed, we increment
count. - SwiftUI detects the change and automatically updates the view.
We don’t need to manually refresh the screen or tell SwiftUI which elements need updating.
The UI is effectively a representation of the current state.
2. State in React Native
React Native takes a slightly different approach. Instead of a property wrapper, it uses a React hook called useState.
Here’s the equivalent counter:
import { useState } from 'react';
import { View, Text, Button } from 'react-native';

export default function Counter() {
    const [count, setCount] = useState(0);

    return (
        <View>
            <Text>Count: {count}</Text>

            <Button
                title="Increment"
                onPress={() => setCount(count + 1)}
            />
        </View>
    );
}
At first glance, this might look a little unfamiliar, but the underlying concept is very similar.
The interesting line is:
const [count, setCount] = useState(0);This is JavaScript array destructuring.
useState(0) returns an array containing two things:
- The current state value (
count). - A function that updates the state (
setCount).
The initial value is zero, just as in our SwiftUI example.
When the button is pressed, we call:
setCount(count + 1);React updates the state and re-renders the component.
Again, there’s no need to manually update the UI.
3. The important differences
Although the two examples achieve exactly the same result, there are some differences worth understanding.
| SwiftUI | React Native |
|---|---|
@State private var count = 0 | const [count, setCount] = useState(0) |
| Directly assign a new value | Call the setter function |
count += 1 | setCount(count + 1) |
| View is recalculated | Component function is re-executed |
| Property wrapper | React hook |
Updating state
This is probably the biggest difference you’ll notice.
In SwiftUI, we can simply assign a new value:
count += 1In React, we must use the setter function:
setCount(count + 1);You shouldn’t directly modify a React state variable. React needs to be notified through the setter function so that it knows the state has changed and the component needs to render again.
What happens when state changes?
The two frameworks also have slightly different approaches to updating the UI.
In SwiftUI, a change to an observed state property invalidates the relevant view, allowing SwiftUI to update the affected parts of the interface.
In React, updating state schedules a re-render of the component. React then compares the resulting UI description with the previous one and updates the necessary parts of the actual interface.
The important distinction is that React re-executes the component function, whereas SwiftUI recalculates its view description.
Both approaches allow us to write declarative UI without manually manipulating individual interface elements.
4. A slightly more interesting example: Toggle a favourite
Let’s take the concept one step further.
Imagine a dictionary app where we want to let users mark a word as a favourite.
We need a Boolean state variable that determines whether the word is currently favourited.
SwiftUI:
struct FavouriteView: View {
    @State private var isFavourite = false

    var body: some View {
        Button(isFavourite ? "Remove Favourite" : "Add Favourite") {
            isFavourite.toggle()
        }
    }
}
React Native:
import { useState } from 'react';
import { Button } from 'react-native';

export default function FavouriteView() {
    const [isFavourite, setIsFavourite] = useState(false);

    return (
        <Button
            title={isFavourite ? "Remove Favourite" : "Add Favourite"}
            onPress={() => setIsFavourite(!isFavourite)}
        />
    );
}
Once again, the logic is almost identical.
Swift has the convenient .toggle() method on Boolean values. In JavaScript, we use the ! operator to invert the Boolean value.
5. What about more complex state?
So far, we’ve only looked at simple values such as integers and Booleans.
But what happens when we want to store something more complex, such as an array of favourite words?
In SwiftUI, we might write:
@State private var favourites: [String] = []

func addFavourite(_ word: String) {
    favourites.append(word)
}
In React Native, we’d use:
const [favourites, setFavourites] = useState<string[]>([]);

function addFavourite(word: string) {
    setFavourites(previous => [...previous, word]);
}
Notice something interesting here.
In Swift, we can modify the array directly using append().
In React, we create a new array using the spread operator (...) and pass it to the setter.
This is an important React convention: treat state as immutable.
Rather than modifying an existing array or object, create a new one and use the setter to update the state.
The functional form of setFavourites is also useful because it receives the latest previous state, making it safer when updates depend on the existing value.
Conclusion
Coming from SwiftUI, React Native’s approach to state shouldn’t take long to become familiar.
The concepts are remarkably similar:
- Both frameworks use state to represent data that changes over time.
- Both automatically update the UI when state changes.
- Both encourage a declarative approach to building interfaces.
- Both allow state to be owned by a component and shared with other components.
The main differences are in the syntax and mechanics.
SwiftUI uses property wrappers such as @State, while React uses hooks such as useState. Swift allows us to modify state properties directly, whereas React requires us to use setter functions and generally treat state as immutable.
Once you understand these differences, you’ll find that much of your existing SwiftUI knowledge transfers quite naturally to React Native.
And that’s a pretty good starting point for learning a new framework.

Leave a Reply